
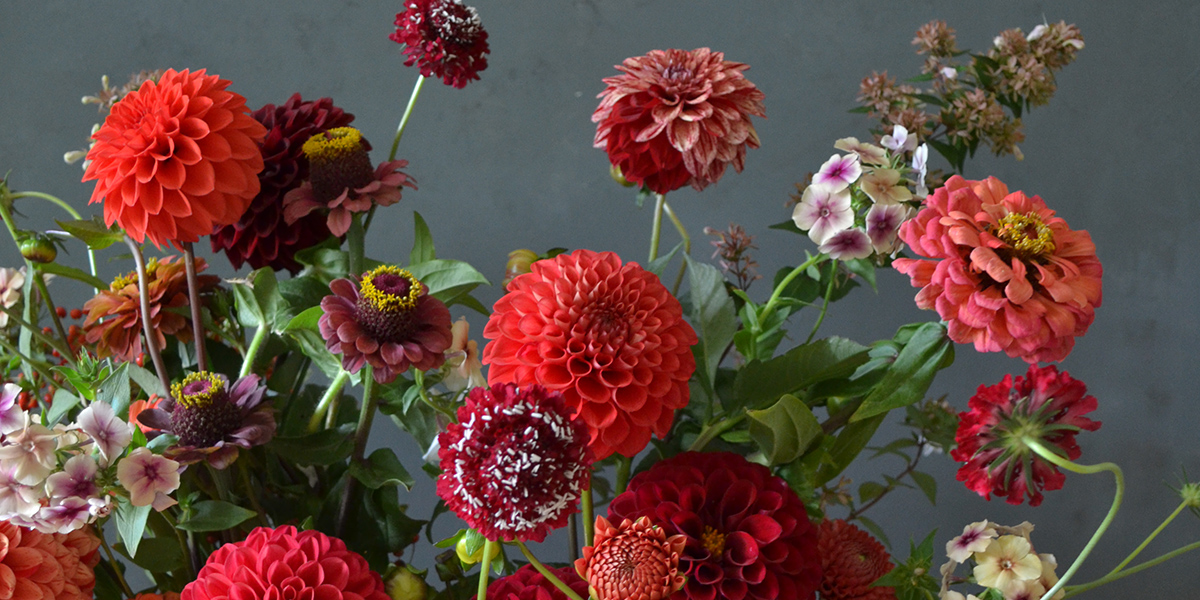
This lovely Autumn coloured arrangement would make a great display on your coffee table, and is a great way to bring a little colour inside as the weather starts getting cool and gloomy. Watch our quick video to get some tips on how to create this look, or sit down with a cuppa and take a read!
Reading Time | 7 minutes
STEP 1 : Select flowers and get everything ready.
We used seasonal dahlias, scabiosa, phlox and zinnias, but you can use any Autumn coloured selection you like! Just make sure your flowers are different in size and shape for the best result. Grab 2 kenzans and 2 dishes, pop the kenzans in & fill with water, and you're good to go!
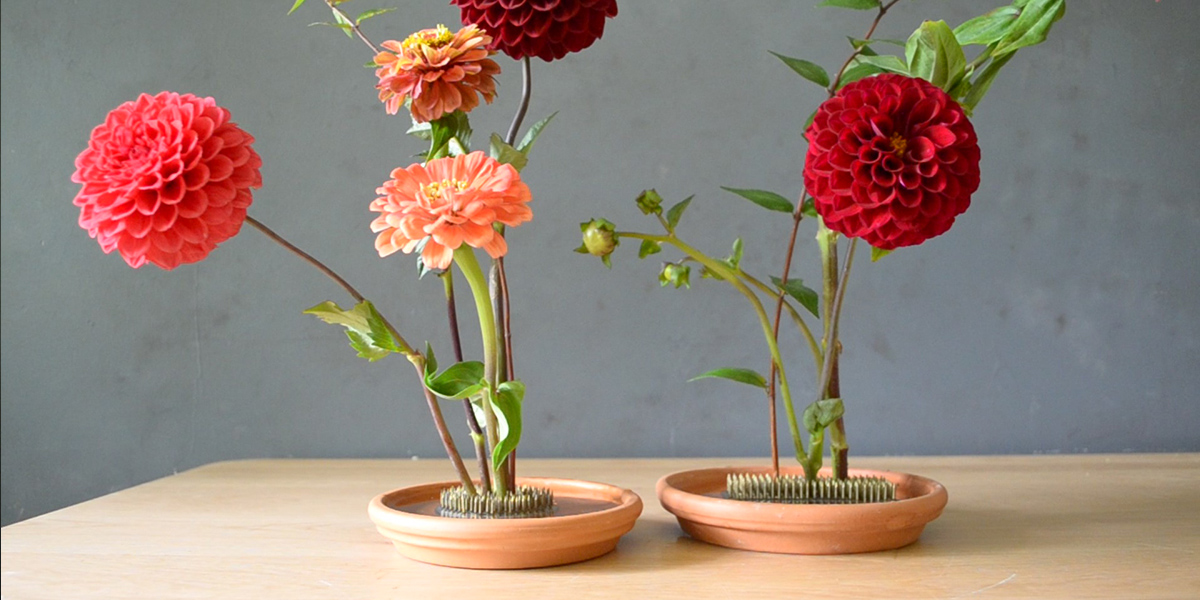
STEP 2 : Start adding flowers to the kenzans.
Carefully place each stem into the pins, making sure your fingers are clear! Cut the stem to size and push into the kenzan. If it feels tricky to get the stem in, it may be too thick or woody, so split the base into a cross using your snips to make it easier.
Work with the shape of your stems. If one has grown on a lean to the left, use it to your advantage by placing it on the left side of your arrangement to create natural movement, and so on (as pictured below).
STEP 3 : Build height and depth.
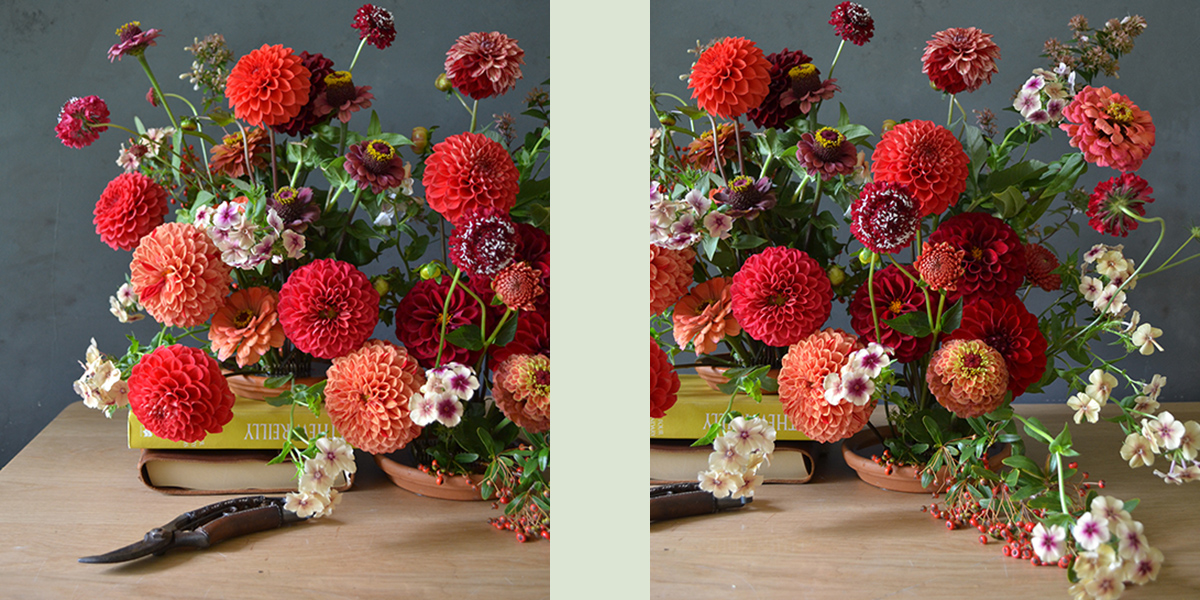
As you add you flowers, try varying the length you cut your stems. Don't be afraid to trim larger blooms right down so that they almost sit on the table, and leave thinner, more delicate stems a bit longer. As a general rule, larger flowers are placed lower and grouped together. If these were all placed higher, the visual weight of your arrangement would be off, and look top-heavy.
That said, not all large flowers need to be cut very short, just make sure none are sitting up on their own in a very high position. The best trick is to start with the ones that you trimmed short and build height, rather than starting up high then trying to tuck the shorter ones in later.
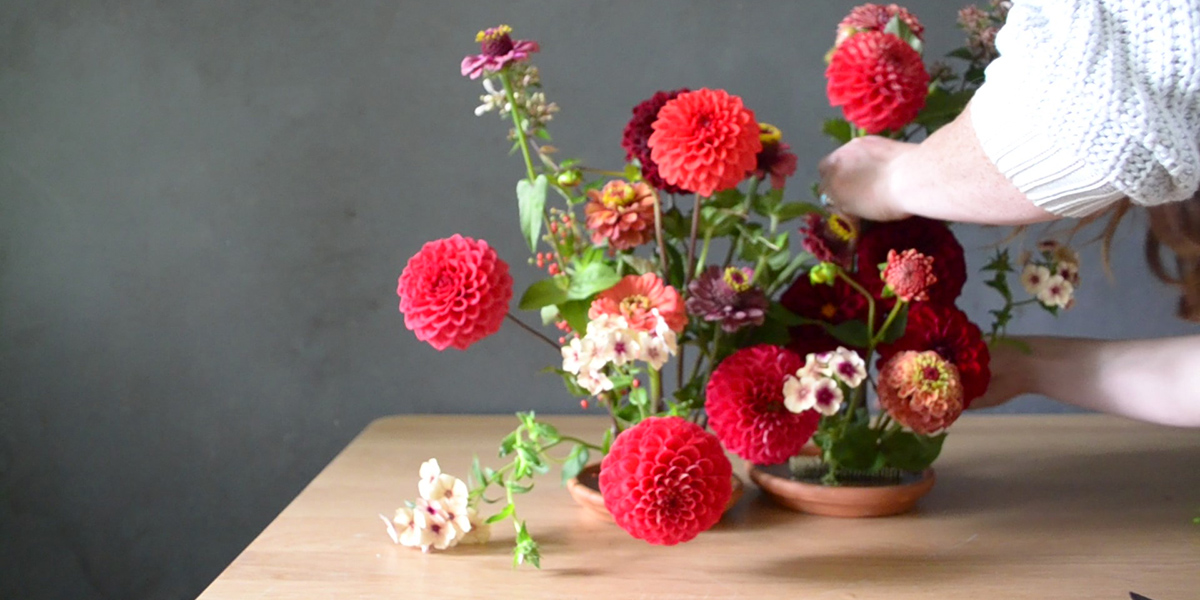
You can see in the example above that we will need to add some more large blooms lower and to the left to balance the 4 sitting higher.
STEP 4 : Thread through delicate stems.
Any stems that are too thin to be pushed into your kenzan's pins can still be used in your arrangement. This was the case with some of our phlox stems, so we threaded them through at the end.
By doing this, the other flowers already in the arrangement hold them in place, and as long as the thinner stems reach the water, they do not need to be in the pins.
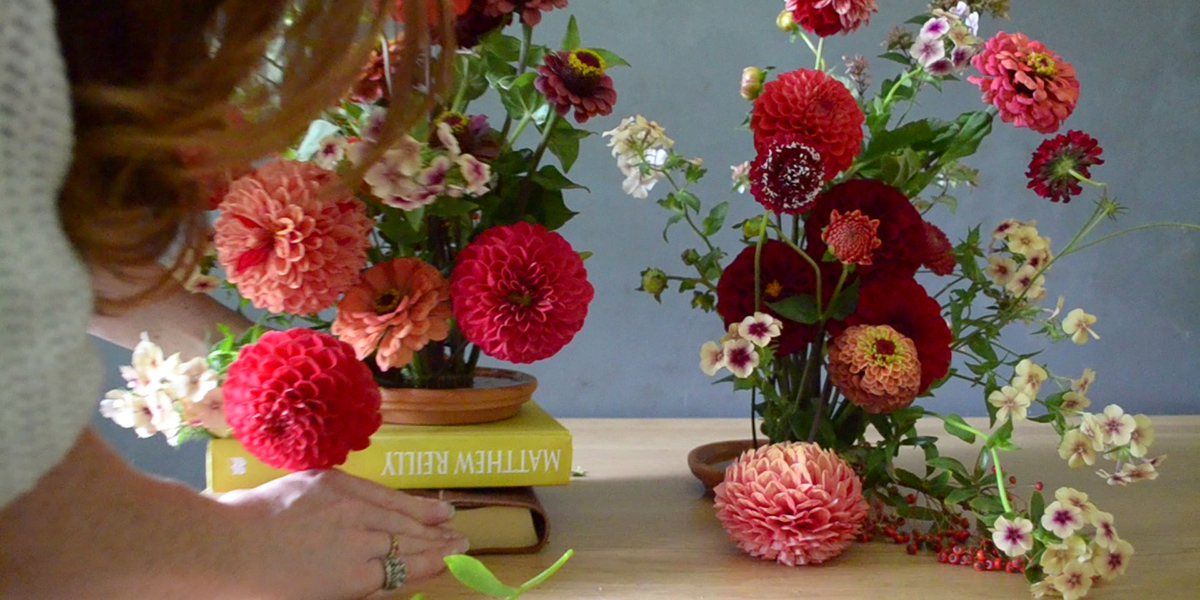
STEP 5 : Adjust & Style.
Once you've finished, take a step back to look at the arrangement. If you think something is sitting too high or needs to be moved, simply pull it out, re-cut it, and re-position. It's important to re-cut any stems you remove, as they won't connect with the pins as securely if they have already been pushed in once.
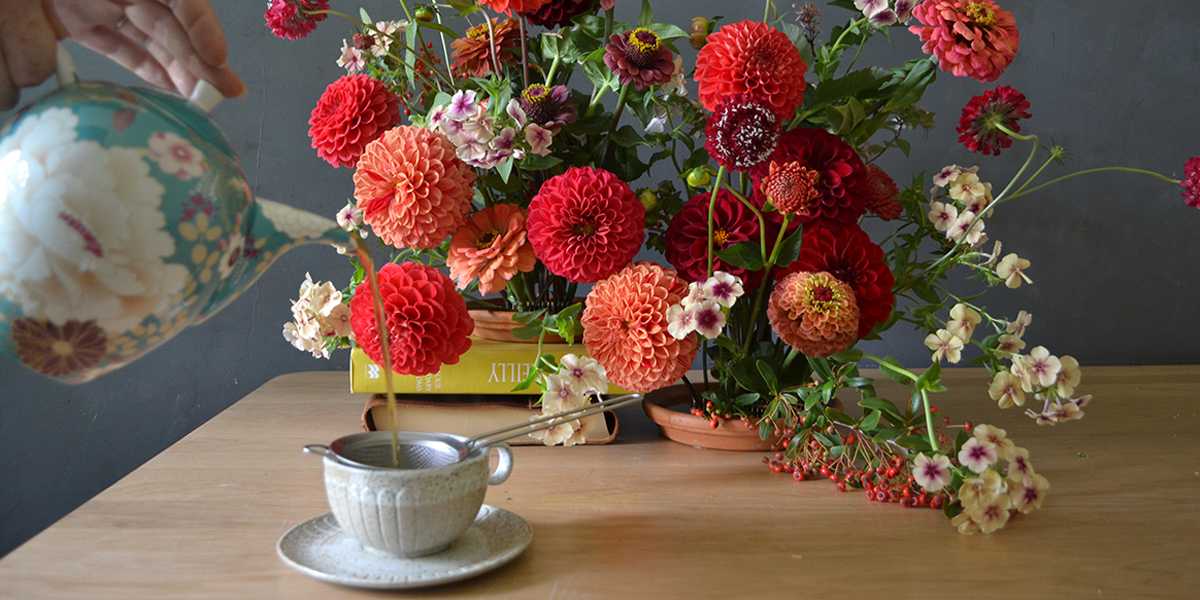
When you are happy it's time to display your beautiful creation in your home! We used a little stack of books to place one of our vases on, and popped them on the dining table. This created a bit more height, and would also work as a coffee table display.
Now make yourself a cuppa, grab some choccie, and enjoy your Autumn kenzan creation!
For more kenzans tips, visit our beginner's blog post, and to grab yourself a quality, Australian-made kenzan, view our range here.